First mark how far down the face the curve will go. In this case I measured the thickness of the timber with a combination square and followed it with a mechanical pencil.
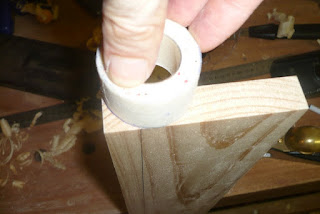
On both ends mark your curve. I used a pen (because it needs to be clear, and will be on the scrap side) and a roll of micropore tape (because it was handy and roughly the size I wanted.)
I then secured the piece tightly on the bench.
Planing a curve with a straight plane is a simple matter of making a polygon and gradually increasing the number of sides. With a sharp no 5 jack plane I then hand plane at ~45 degree to the curve of my circle. This forms two peaks (at 22.5 and 67.5 degrees). I then plane those to the curve. I continue this process until it close to the curve.
For the final passes I switch to a block plane set for finer shavings. And finally some cloth backed sand paper makes everything smooth.
The next steps will be to join the pieces (more dovetails), attach it to the boxes (more glue and clamps), and cut the curved legs.
One day I'll acquire some molding planes (such as those from HNT Gordon) and form more complex designs. But for the time being a simple round over works a treat.


.png)
No comments:
Post a Comment