Showing posts with label Bed Restoration Project. Show all posts

Saturday, January 7, 2012

The Little Ted Approval

This morning I was able to install the finished bed restoration project. It was a simple but time time-consuming project. I took the simple pine bed that I had as a child and refined it slightly for my own child. 


With the three coats of varnish dry it was time to install - with resulting clapping and 'hoorays' from the receiving toddler. The details for those interested. Sanded to 320 with ROS and hand. Then thinned dewaxed shellac. Then feast watson liming solution. Then feast watson satin proof x 3. 


The room re-arranged and the bed installed.


An approving little ted.

Friday, December 30, 2011

Sanding, Liming, Finishing.


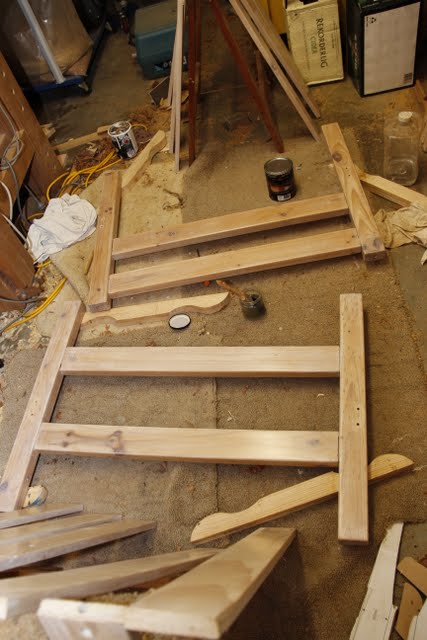
A quick update on the Bed Restoration Project. The simple radiata pine was sanded back 120, 180, 240, 300 with random orbit and the round over by hand. The timber then sealed with shellac and sanded again.


I chose a finish to match the Shaker Toy Chests. I'm using the same liming agent which is applied then wiped off the make the white shade. Then I'm using the thicker/ tougher feast watson satin varnish rather than the minwax poly which although nice to apply dented easily on the toy chest.


One day I'll clean up the shed...

Saturday, October 15, 2011

New Project: Bed Restoration


It may not be my most creative project but the bed restoration will certainly be useful. These pictures show one half of the bunks I slept on as a child. Now recovered from under my parents house it needs a little work. The restoration shouldn't be too bad. The plan will be to sand back to thin varnish (and thicknessner marks), sand and round the rough routing work, lime (similar to a white stain) to match the toy chest, and apply a fresh varnish layer. Hopefully it will prove to be a simple project.


Like at Facebook

Redbubble