Friday, August 20, 2010

Boutique Timbers: Australian Red Cedar & Huon Pine

Last weekend I made it up to see Mal Ward of Boutique Timbers. After working through a few stacks of Australian Red Cedar (Toona Ciliata) and Huon Pine (Lagarostrobos franklini) I loaded up the trailer with a fine selection of prized Australian Timbers.


Incidentally this caused a bit of controversy over at the Woodwork Forums see Timber Gloat.

Monday, August 9, 2010

Dining Table Benches


Benches are a practical solution to dinning table seating. They allow for a flexible number of people and they introduce a communal atmosphere. (Not to mention they are easier and faster to make.) The 2008 build had benches without backs. The owner of the table told be it was the only thing he would change. Taking his advise I've decided on a design with backs. 


This should be quite a practical solution. These benches 2m x 30cm x 4cm will have three legs made of 40mm mrytle. The back will be fiddleback and position to support the lower back only (77cm tall in total.) The inspiration pictures have a support piece underneath. (I however have run out of timber... but what I am using is thicker...)

Inspiration
The Shaker's where a protestant sect which is most commonly remembered for thier distinctive furniture style. Fairly unknown in Australia, but shaker style furniture is one of the most popular styles in American hand made furniture. I've taken inspiration from their simple but practical design solutions.


These examples are taken from the Popular Woodworking Sketchup Warehouse.


Friday, August 6, 2010

Sneak Peak: The table top after a coat of oil...


Flattening the top by hand with a Stanley no 7 resulted in some mild tear out. Switching to abrasives, I used a belt sander (120grit) and a random orbit sander (120 to 1200 grit.) At around 600 grit I coated the top with a diluted coat of UBeaut White Shellac which acts as a pore sealer and allows the oil to penetrate more easily. The oil of choice for this job is Organoil Hard Bunishing Oil which is a tung oil based product (see Stu's Shed.) Only a thin coat is needed, the excess rubbed off at 30min, and then with micromesh or wet dry sanded moist at 1500 grit. Another thin coat, and burnishing to 3200 is the plan.

Prior to this a trimmer router with a 1/8" CMT bit rounded the edges, and a saw/rasp/sand paper rounded the corners to 20c piece radius.

The timber is fiddleback Tasmanian Myrtle (Nothofagus cunninghamii) from Boutique Timbers with Ebony dowel (Diospyros sp.) from Trend Timbers.


Sunday, August 1, 2010

Breadboards: Part 4 - Putting it all together...

Dowel Design
The long tenons received elongated slots formed by drill, coping saw, and rasp. The outside tenons including the slot are waxed. With the dowels glued to the top and bottom of the breadboard the dowels can slide in the slot uninhibited.


The Glue Up
Only the dowels and the mid section receive glue. I used rachet straps to ensure everything was tight before starting. The center dowel also acts as a drawbored joint.


The Joint Explained: Exploded View
For that wanted to see the inside of the outside mortise/tenon joint here's your chance. The dowel was not aligned with the bottom hole, a few firm wacks with the hammer, and there you go, the inside of the joint. Notice how there's space to allow for wood expansion. The repair is not too obvious. 


Thursday, July 29, 2010

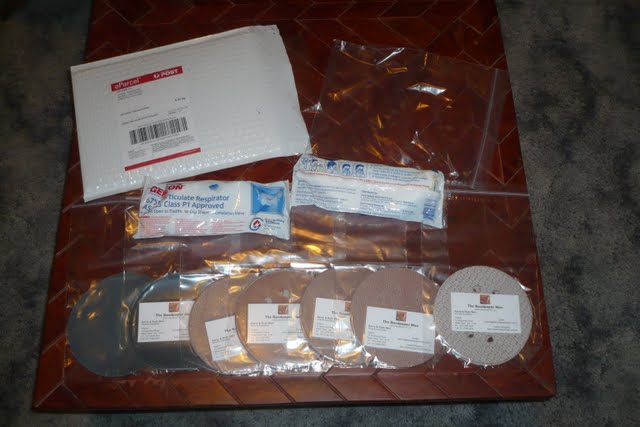
The Sandpaper Man


Just wanted to give a shout out to The Sandpaper Man. Not a paid advertisement, just wanted to share a positive experience. This is the third time I've used this company and always had excellent prompt service. I placed my order 1000am Tuesday, had shipping confirmation 1530 Tuesday, and parcel arrived today (Thursday). Cost wise they are competitive or a fraction cheaper than the main stores. They also stock of micromesh which I use with hard burnishing oil.


Wednesday, July 28, 2010

Square Peg in a Round Hole (aka. making dowel)

As a little indulgence I'm going to use ebony dowel (disopyros sp.) for the joinery in the Anniversary Table. I purchased this small piece from Trend Timbers at the Sydney Wood Show which today I started forming into dowel.


In the past I've used a small lathe to produce dowel for a similar purchase (see rosewood turnings.) Although you can purchase high quality dowel plates, it's actually not too hard to make your own.  Today I'm going to use a shop made dowel plate from a tip from Hendrik Varju (from Passion for Wood.) 


Simply take a spare metal bracket, a high quality drill bit, and drill the size you want. In this case ~10.5mm.


Being careful not to waste wood, I cut 11x11mm pieces. (The missing section was the test piece.)


Next you need to whittle or shave the piece to rough shape taking off the corners. 


The dowel plate makes the final shape as you move the piece gently through with a big hammer.


Three down... seven to go. As always I'm happy to hear any comments or suggestions.

Friday, July 23, 2010

Breadboards: Part 3 - The Tenons

Of course complicated mortises require complicated tenons. This is the story of the breadboard tenons. The final dimensions are; the center tenons at 60x60x10mm, the end tenons are 60x40x20mm and the long tenon is about 17x10mm. Other than the center one, the mortises are 20mm wider allowing for 10mm bilateral movement.


After removing the edge material with a router and an plane the first step is detailed layout.


This is followed by some rip cuts at a slightly awkward angle.


A coping saw is then used to remove the bulk of the material between the tenons. This is tidied up with a block plane.


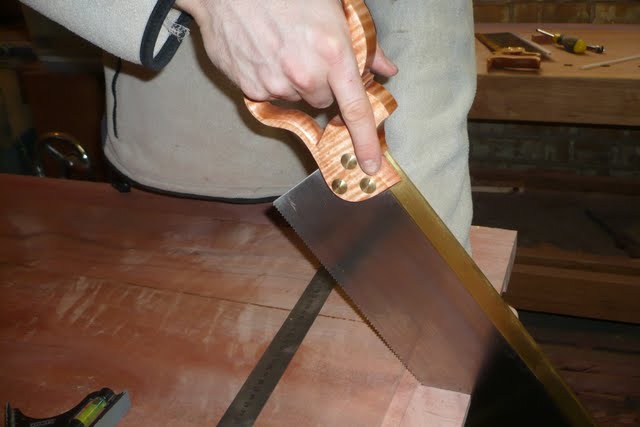
The two end tenons are from thicker timber and required some materal from the bottom. I used a rip saw at an even more awkward angle.


The last and most fiddly step is fitting the joint. This is tricky because the whole point of the process to keep the table flat which relies on a tight fit. At the same time however it needs to be loose enough  to allow lateral movement and be easily fit.


At this point I ran out of time...

Thursday, July 22, 2010

Breadboards: Part 2 - The Breadboards

The breadboard ends are 1020x150x40mm made from the same timber as the edging. Being oversized in length allows me to trim them back precisely when the top is finished and gives me a lip to grip to remove the board while fitting.


The technique I used was fairly standard. I used a drill press and a forsner bit to remove the bulk of the deep mortises. I squared the edges with a set of bevel chisels. Finally, I used a 6mm router bit to slowly make the long 10mm groove. Unfortunately I didn't get any photos of the progress shots.

Like at Facebook

Redbubble